
One Year Later: Is the Rogue Kabuki Transformer Bar Worth the $900 Hype?
By Drew | Iron and Lime Fitness
Last Updated: Feb 2026
Iron and Lime Fitness is independent and supported by readers. We may earn a small commission at no cost to you if you buy through an affiliate link.
A No-BS Review After 365 Days of Real Training
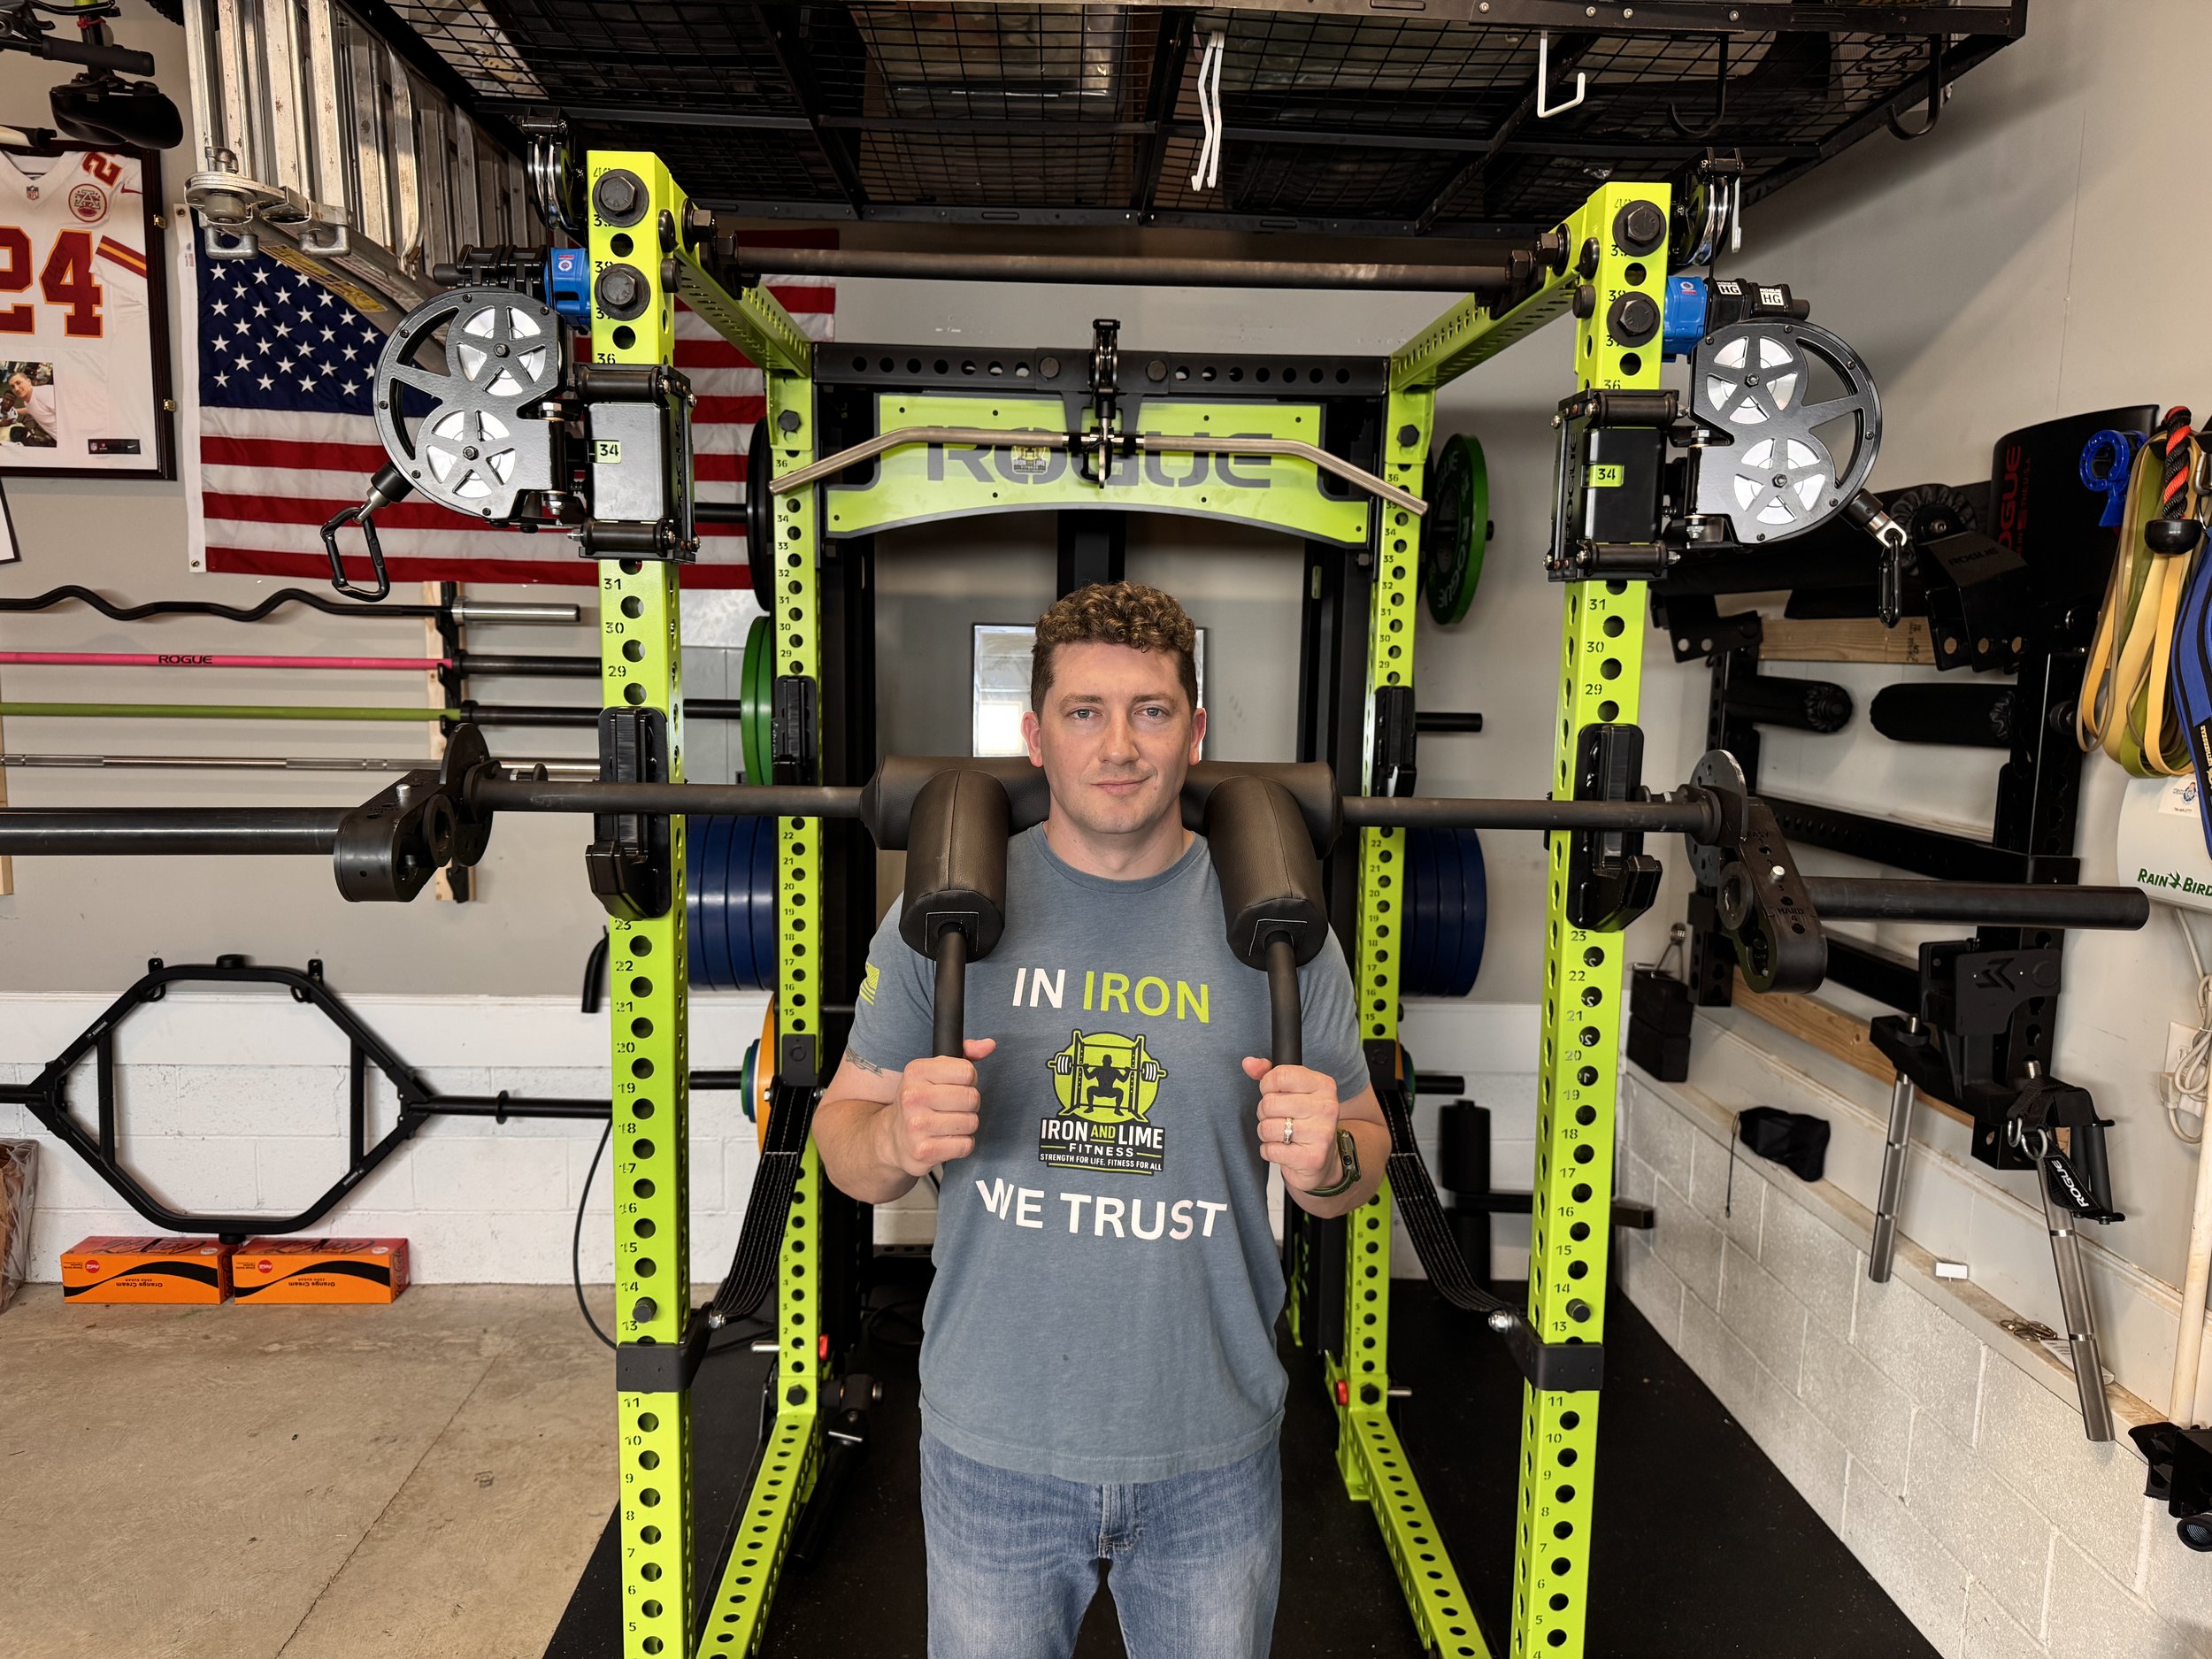
Drew from Iron and Lime Fitness with the Rogue Kabuki Transformer Bar
The real question is simple:
A year ago, a very large, very engineered piece of steel showed up at my garage and didn’t exactly ask for permission to be there. It came in like it already had seniority. The Rogue Kabuki Transformer Bar didn’t slide quietly onto the wall next to the Ohio Bar and wait its turn. It showed up like the new sheriff in town, wide stance, big presence, daring you to question it.
And if you’ve ever seen one in person, you know it has that effect.
This wasn’t marketed as just another specialty bar. It was pitched as the solution. It promised to free up wall space. It promised to spare my shoulders and lower back. It promised enough adjustability and training variety to make half the other specialty bars out there feel redundant. If you listened closely enough to the internet, buying this thing would unlock lifting enlightenment, fix your mobility, clean up your squat pattern, and maybe tack 100 pounds onto your max while you’re at it.
That kind of promise should make you skeptical.
Still, there’s no denying the presence of this bar. When people step into my garage, they don’t ask about the rack first. They don’t ask about the plates. Their eyes go straight to it hanging on the wall. “What is that thing?” is usually the first question. It looks different. It looks serious. It looks like something a Transformer would warm up with before a heavy leg day. It’s a conversation starter, and it knows it.
But none of that matters once the novelty wears off.
The real question isn’t whether it looks impressive or sparks gym talk. The question is this: after twelve months of real programming, heavy cycles, early mornings, sweat on the knurling, Georgia humidity that feels like you’re lifting inside a swamp, and temperature swings from 20 degrees in the winter to 95 in the summer, was it actually worth the $891 delivered price?
Or did I just buy a Ferrari to drive three miles to work?
That’s what we’re going to sort out.
The Home Gym Reality: Why Specialty Bars Matter (And Why They're a Pain)
Before we get too deep into the Transformer Bar itself, we need to zoom out and talk about the real issue here. Because this isn’t just about one bar. It’s about the home gym reality. If you train at a commercial gym, specialty bars are a luxury. They’re either there or they’re not. If they are, great. If they aren’t, you shrug and move on. It’s not your space. It’s not your budget. It’s not your problem. In a garage gym, every single piece of equipment is a long term decision. It takes up physical space. It takes up budget. And it commits you to a certain style of training whether you realize it or not. There’s no equipment graveyard in the back room. If you buy it, it lives with you.
Here's the specialty bar dilemma:
A quality safety squat bar is a fantastic tool. It will save your shoulders. It will force you upright. It will hammer your upper back and teach you to stay tight under load. If you’ve used one consistently, you know how effective they are. But it does one thing. Very well, yes. But one thing. Then you look at a cambered bar. Different stimulus. Incredible for accommodating resistance and exposing weak points. It teaches you to stabilize under a load that wants to move. Another several hundred dollars. Another chunk of wall space gone. Then maybe you start thinking about a Kabuki Duffalo bar for a more comfortable squat grip or pressing variation. Another few hundred dollars. Another hook on the wall. Another explanation to give when someone asks why there are now more bars than parking spots.
Before you know it, you are well north of a thousand dollars into three bars that each solve one specific problem. Your garage starts looking less like a training space and more like the clearance aisle of a sporting goods warehouse. Your spouse is side eyeing the growing steel collection every time they try to open a car door without hitting something. And heaven help you if you actually need to find a tool in there. That’s the specialty bar dilemma in a home gym. The tools are good. The training benefits are real. The space and cost add up fast.
So the idea of one bar that can cover most of those bases is appealing. Not because it’s flashy, but because it’s efficient. One piece of equipment that can shift stress, mimic different patterns, and reduce the need for multiple single purpose bars. That’s the promise. One bar to consolidate space. One bar to simplify decisions. One bar that handles most of the work without turning your garage into a steel museum.
The question is whether that promise holds up once the hype fades and the training gets real.
Why I Bought It: The Space and Versatility Gamble
In a home gym, space is not a suggestion. It’s law. I train in a two car garage that has to do more than one job. It’s a gym, yes. But it’s also a workshop. It’s bike storage. It’s scooters, balls, random kid gear that multiplies overnight. And every now and then, when Georgia winter actually decides to act like winter, it needs to function as a place where a vehicle can fit without playing Tetris. So when people casually say, “Just get another bar,” I laugh a little. Another bar means another wall mount. Another wall mount means less usable wall. Less usable wall means tighter walkways. Tighter walkways mean you’re one bad step away from tripping over something expensive. In a garage gym, every square foot is sacred ground.
That’s where this decision started. I didn’t want a safety squat bar living permanently on one wall, a cambered bar hanging somewhere else, and a buffalo bar claiming an entire corner like it paid rent. I didn’t want three specialty tools that each did one thing well but collectively ate up space and budget. I wanted one piece of equipment that could handle most of it. Not perfectly. But effectively. That was the gamble. The Transformer Bar isn’t just a bent bar with padding. It’s built around a genuinely smart mechanism that lets you adjust both the camber angle and the distance of the load relative to your center of mass. In practical terms, that means you can shift the stress pattern without swapping equipment. You can bias quads. You can bias posterior chain. You can change how upright the lift feels. You can make it more forgiving on the shoulders.
It’s essentially multiple specialty bars built into one frame. What sold me, though, wasn’t just the adjustability. It was how simple the adjustments are. No tools. No bolts. No 15 minute setup process that kills momentum. I’ve owned enough gear to know this truth: if something takes too long to set up, you will stop using it. Convenience matters more than we like to admit. This bar adjusts quickly enough that I don’t hesitate to change settings between blocks. That matters. If it required a full teardown every time, I would default back to a straight bar out of laziness or time constraints. And that defeats the entire purpose. So when I bought it, I wasn’t chasing hype. I was making a calculated bet. One tool. Multiple functions. Minimal footprint. Maximum utility.
In a garage where every inch counts, that’s a bet worth taking.
The Six Main Positions (And Which Ones Actually Matter)
One of the big selling points of the Rogue Kabuki Transformer Bar is the six primary loading positions. On paper, that sounds like marketing fluff. In practice, some of them are legitimately useful. Others are nice to have. And one is, if we’re being honest, mostly there to round out the brochure.
Let’s walk through them the way they actually play out in a real garage gym.
1. Hip Hinge Position
This setting pushes the load further back and essentially turns the bar into a good morning machine. If you have never done good mornings with a cambered bar, you are missing a brutally effective hinge builder. The moment you lose tension or let your back round even slightly, the bar lets you know. There is no hiding. It forces you to own the hinge pattern. I use this for good mornings, controlled tempo hinge work, and occasionally as a teaching tool. It exposes weaknesses quickly. It is humbling. It builds the posterior chain in a way that carries over to deadlifts and squats without crushing your lower back with maximal loads. This position is not flashy, but it is highly effective.
2. Back Squat Low
This one mimics a low bar squat with the load sitting slightly behind you. It biases the posterior chain and encourages you to sit back into the movement. If you are coming off shoulder irritation or just tired of cranking your arms into a low bar position, this is a strong alternative. It feels familiar but more forgiving. You can still move meaningful weight, still train the hips hard, but without that straight bar digging into your hands and forcing shoulder external rotation that some of us simply do not tolerate well anymore.
3. Back Squat High
This is the high bar variation with a more upright torso demand. For me, this has become a staple for volume blocks. It keeps you honest about posture and lights up the quads while staying far more shoulder friendly than a traditional high bar position. If you are chasing clean, upright mechanics and want something that reinforces good movement instead of letting you lean forward and turn every squat into a hinge, this setting earns its keep.
4. SSB (Safety Squat Bar) - My Most Used and Recommended Setting
This is the money maker. The safety squat bar setting is where this bar probably lives close to half the time in my programming. If you have never trained with a safety squat bar, imagine being able to load your squat pattern heavy without your shoulders paying the price. The weight sits securely across your upper back. The handles allow you to create tension without cranking your wrists and elbows into compromised positions. For lifters over 35, this is not a luxury. It is common sense. You can train hard, build your legs and upper back, and keep your joints from feeling like you just wrestled a grizzly bear the next morning. This setting alone makes a compelling case for the bar.
5. Front Squat Position
This one surprised me. The counterbalance design makes front squats feel more stable than a traditional front rack for a lot of people. Your torso stays upright without fighting the bar rolling forward. You can focus on driving up instead of worrying about losing the rack position or dumping the weight. I was skeptical at first. I assumed it would feel like a compromise. It does not. In fact, this has quietly become my preferred way to train a front squat pattern when I want the quad emphasis without the wrist and shoulder stress of a traditional front rack.
6. Goblet Position
Yes, it works. Yes, it is functional. But let’s be honest. I own dumbbells. I own kettlebells. If I want to do goblet squats, I can grab a 70 pound dumbbell and get the exact same training effect without setting up a nearly 900 dollar bar. I have used this position. It is fine. It just is not the reason you buy this bar. When you strip away the hype, four of these six positions are genuinely valuable in a home gym context. Two are situational. One is mostly redundant if you already own basic equipment.
The key is not that it does six things. The key is that several of those things are good enough to replace standalone specialty bars. And in a garage where space is limited and every purchase matters, that distinction is everything.
The Reality of 24 Variations
On paper, the Rogue Kabuki Transformer Bar offers 24 variations. Six main positions. Four difficulty settings per position. That math looks impressive in a product description. In reality, no one is cycling through 24 variations like it’s a buffet. The four difficulty settings adjust how aggressively the load wants to tip forward or backward. In simple terms, they increase or decrease the stability demand. The higher the difficulty, the more the bar tries to pull you out of position. It is a smart feature. It is not a feature most people will live in daily.
Do I use all 24 settings?
No. And if someone tells you they do, they are either running a lab experiment or overcomplicating their training.
Here is what actually happens in a real garage gym with a job, kids, and a clock ticking in the background.
Most of the time, I keep the difficulty at Level 2 or Level 3. That range provides enough instability to reinforce good mechanics without turning every set into a balance drill. It feels challenging but not gimmicky.
From there, I rotate primarily between:
SSB position
Hinge position
High bar position
Those three cover the bulk of my programming. They address strength, volume, posterior chain development, and upright quad dominant work without beating up my shoulders. Occasionally, I will use the low bar or front squat variations when programming calls for it or when I am managing around an irritation. They are useful tools. They are not daily drivers. As for the extreme difficulty settings, I have tested them. They absolutely increase the stability challenge. But unless you are intentionally targeting a specific weakness or trying to add a novel stimulus in a controlled block, Level 2 or 3 is the practical sweet spot. Anything more and you start drifting into novelty territory.
The beauty is in the quick changes.
Adjustments are quick. No tools. No bolts. No production. When friends train with me, we can rotate movements without the session turning into a circus act. During my own training, I can move from SSB squats to hinge work to front squats in under 30 seconds per adjustment. That matters. When you are trying to train hard inside a 45 to 60 minute window before work calls start or kids need to be picked up, friction kills productivity. Equipment that slows you down gets used less. Equipment that transitions quickly becomes part of the system. One practical note that is worth knowing: if there is weight loaded on the sleeves, you will need to slightly unload or lift the bar to adjust positions. The mechanism will not click cleanly if the plates are pulling downward. Without weight, it changes instantly. It is not a flaw. It is just physics. But if you do not know that, you will find yourself in the rack wondering why the thing will not move.
Twenty four variations sounds like marketing. In practice, it is really about five or six that matter, used intelligently, adjusted quickly, and integrated into real training. That is where the value actually lives.
Where It Feels Like a Luxury Bar: Comfort and Build Quality
This is the part where Kabuki earns its reputation. There are areas where you can argue about versatility, about price, about whether you really need something this engineered. But when it comes to comfort and overall build quality, this is where the bar separates itself from budget options in a very obvious way.
The Pad: Finally, An SSB That Doesn't Hurt
If you have ever used a cheaper safety squat bar, you know exactly what I am talking about. The pad is usually the weak link. It slides mid set. It compresses into nothing after a few months. It digs into your traps like it has personal beef with you. And after a summer in a garage, it smells like a forgotten gym bag baking in a car trunk. The pad on the Rogue Kabuki Transformer Bar is different. It is firm without being harsh. It sits on your upper back and stays there. It does not migrate during a set. It does not feel like it is collapsing under load. After a full year of sweat, Georgia humidity, temperature swings, and real use, it still looks and feels like it did when it came out of the box. And yes, it still smells normal. That matters more than people admit.
Before this, I owned the Titan SSB V2. For the money, it was solid. I am not here to bash Titan. But when you move from that to the Transformer Bar, the difference in comfort is immediate. It is the difference between sitting on a metal folding chair and dropping into a well built leather recliner. Both technically work. One makes you forget you are sitting.
Why this matters more than you think:
When the bar is comfortable, you stop thinking about it. You are not adjusting between reps. You are not mentally bracing for discomfort before you even unrack the weight. You are not cutting a set short because your traps are lit up for the wrong reason. All of your attention can go into bracing, driving, and executing the lift. That is not a small detail. That is performance.
The Handles: Locked In and Stable
You get long and short handle options. I run the short handles about 80 percent of the time. They give me a narrower position and allow me to actively pull down and create serious lat tension. The long handles are there if you want a different feel, but for strength work, the short handles feel more locked in. Here is the difference compared to most safety squat bars. On a standard Rogue SSB, the handles often feel like an afterthought. They give your hands somewhere to rest. They are passive. On this bar, the handles are an active part of the lift. You can pull down hard. You can create upper back tension. You can reinforce your brace. That changes the entire feel of the squat. It makes the bar feel integrated with your body rather than sitting on top of it. When you are chasing real strength, not just a good looking video clip, those details matter. Comfort and stability are not luxury features in that context. They are tools that let you train harder and longer without unnecessary friction.
That is where this bar starts to justify its price tag.
The Ground Truth: A 1-Year Reality Check
From day one, I have said the same thing about reviews. I am not interested in unboxing videos with cinematic lighting and dramatic music. I am not interested in “first impressions” after three sets of five. And I am definitely not interested in pushing affiliate links before I know whether something actually holds up.
So here is the one year reality on the Rogue Kabuki Transformer Bar. No gloss. No highlight reel. Just what happened.
1. Customer Service: Rogue Comes Through (Eventually)
This is the part most reviewers conveniently skip. My first bar had an issue with the adjustment pins. I would move it to a new setting, one side would click in solid, and the other would not fully engage. That is not cosmetic. That is not “it’ll be fine.” That is a safety problem.
Rogue replaced it.
The second bar had a similar issue. Different pin, same story. At that point, I was not thrilled. When you spend this kind of money, you expect precision. Period.
Rogue replaced it again.
By the third bar, everything locked in exactly as it should. Clean engagement. No hesitation. No partial clicks. And since that replacement, it has been flawless through a full year of hard training.
Here is what matters.
Rogue’s customer service is elite. No runaround. No arguing. No “prove it” nonsense. They handled it quickly and professionally every time. That is worth something. Would I have preferred not to go through two replacements? Of course. But I would rather deal with a company that stands behind its product than save a couple hundred dollars with a brand that disappears the moment something goes wrong. When you are spending close to nine hundred dollars on a bar, support matters as much as steel.
2. The Finish: Beautiful…Until Weight Plates Touch It
Let’s separate frame and sleeves. The frame has held up exceptionally well. The matte black finish still looks close to new. No meaningful chipping. No rust. And this is in a Georgia garage where humidity could qualify as a weather event. It has seen heat, cold, sweat, and repeated use without drama. The sleeves are black oxide. Which means the first time you slide iron plates on and off, you will see wear. Silver streaks. Marks. Evidence of friction. This is not a defect. This is physics. If you are the type who wants your equipment to look showroom perfect forever, this will bother you. If you understand that a barbell is a tool, not a display piece, it will not.
Performance has not changed one bit. The sleeves spin as they should. The wear is cosmetic. Personally, I like it. It looks like it has been put to work. A pristine bar after a year of use tells me it has not been trained with.
3. The Size: It's a Beast (And You Need to Plan for It)
Photos do not do this bar justice. It is large.
Length: 91.25 inches
Rackable length: 50.5 inches
Sleeves: 15.75 inches per side
Handle spacing: 12 inches
Weight: 55 pounds
It is a substantial piece of equipment. At 6 foot 1 and 215 pounds, it fits me well. The handle spacing feels natural. The pad sits exactly where it should. I can get into every position comfortably. But make no mistake, this is not a compact bar. If you are smaller framed, it will feel big. Usable, yes. But substantial. It feels like a tank, not a delicate specialty piece.
Here's what nobody tells you:
The bigger issue is storage. At over seven and a half feet long, this bar will dominate whatever area you put it in. I have mine mounted on a dedicated wall bracket for specialty bars. That works well, but it takes planning and it takes wall space. If your plan is to lean it in a corner or leave it on the floor, understand that you will be stepping over it constantly. It is too large to ignore. Before it arrives, have a storage solution ready. That is not optional. That is part of the purchase decision. After a year, here is the summary. The bar has held up. It performs as designed. It survived real training, real weather, and real use. There were bumps at the beginning, but the company stood behind it. It looks like a tool that has been used, because it has.
That is the ground truth.
Real Training Applications: How I Actually Use This Bar
Theory is nice. Marketing is persuasive. None of that matters at 5:00 in the morning when you are staring at the rack and asking yourself whether today’s work is going to move the needle or just beat you up. So here is how the Rogue Kabuki Transformer Bar actually lives in my programming.
Weekly Programming Reality
Most weeks follow a simple structure.
Monday – Lower Body Strength (Transformer Bar in SSB position)
Back Squat: 4 sets of 5
This is where the bar earns its paycheck. The SSB setting lets me load heavy without cranking my shoulders into positions they no longer tolerate well. I can focus on bracing, driving, and finishing reps instead of thinking about how my wrists feel under the bar. I am squatting heavy, pain free, consistently. That was not always the case with a straight bar.
Wednesday – Upper Body
Regular barbell work.
The Transformer Bar stays on the wall. It does not replace everything. It does not need to. Straight bar pressing and pulling still matter. Specificity still matters. This is not a magic wand. It is a tool that fills a specific role.
Friday – Lower Body Volume (Transformer Bar in High Bar or Front Squat position)
Front Squat: 4 sets of 8
Good Mornings in Hinge position: 3 sets of 10
This is where the versatility shows up. I can bias quads with the high bar or front squat setting, then immediately shift into hinge work without changing bars. Sometimes I will add pause squats, tempo squats, or lighter technique work in a different position. The key is not novelty. The key is targeted stress without reinventing the entire program. I am still squatting. I am still hinging. I am just shifting how the load challenges me.
That keeps training productive and interesting without becoming random.
The Shoulder Saver Reality
Here is something people do not talk about enough. As you move into your 30s and beyond, the straight bar low bar squat starts to demand more than it gives for a lot of lifters. Hands cranked back. Wrists extended. Elbows high. Shoulder external rotation under load. It adds up. I am 35. I have been lifting for over 20 years. Rugby. Heavy pressing. Normal wear and tear. A traditional low bar position for six straight weeks starts to feel less like productive stress and more like slow motion joint irritation. The SSB setting removes that equation. My shoulders stay in a neutral position. My wrists are not forced into extension. I can create upper back tension through the handles without compromising joint alignment. The load still sits heavy on my back. My legs and glutes still do the work. My upper back still gets trained. The difference is what does not hurt.
That matters long term.
If you are in your 30s or 40s and want to squat heavy for the next two or three decades, joint management becomes part of intelligent programming. You either adapt or you slowly reduce load and pretend it is fine. For me, this bar has allowed heavy squatting to stay in the program without shoulder inflammation becoming the limiting factor. That alone does not make it cheap. But it does make it defensible. Because strength is not just about what you can lift today. It is about what you can keep lifting ten years from now.
What I Wish I Knew Before Buying
There is nothing worse than spending real money on a piece of equipment and realizing later that half of what sold you on it does not actually matter in your day to day training. So here are the things I would tell myself if I were standing in my garage a year ago, staring at the checkout screen.
1. You'll Default to 2-3 Favorite Positions
The “24 variations” sounds impressive. It looks incredible in a spec sheet. In practice, you are going to gravitate toward two or three positions that fit your structure, your goals, and your programming style. For me, it is SSB, high bar, and hinge. Those cover the bulk of my lower body training. The others are there when I need them, but they are not in constant rotation. And that is not a knock on the bar. That is normal. Most lifters do not need 24 variations. If you get three elite specialty bar patterns in one frame, that is already a huge win in a home gym. That replaces multiple standalone bars and frees up space without sacrificing quality. Just do not buy this expecting to live in every setting equally. You will not.
2. It Takes a Week or Two to Dial In Each Position
The first time I used the front squat setting, it felt foreign. Not bad. Just different. The hinge position felt awkward at first too. I questioned whether I was setting it up correctly or just fighting the camber. This is not a plug and play straight bar. It takes a week or two of intentional use to understand how each setting interacts with your body. Give yourself room to experiment. Start lighter than you think you need to. Watch Kabuki’s tutorials. Pay attention to how the bar wants to move and how your body responds. Once it clicks, it clicks. But do not expect it to feel natural on day one.
3. The Difficulty Settings Are Overthinking It
The adjustable difficulty levels are a smart design feature. They absolutely change how the bar challenges your stability. But here is the honest truth. Unless you are a strength coach programming highly specific stability progressions for athletes, you do not need to live in every difficulty tier. Level 2 or 3 handles the majority of real world training needs. It provides enough challenge to reinforce position without turning every set into a circus act. You can experiment. It is worth understanding the range. But do not feel like you need to cycle through all four difficulty levels just because they exist. Sometimes more options just mean more opportunities to overcomplicate something that should be simple.
4. Budget for Storage
This is the part nobody highlights in the marketing photos. This bar is large. It needs a proper home. A wall mounted specialty bar holder will run you another 50 to 100 dollars. That is part of the purchase, whether you like it or not. Factor that into the decision. If you try to lean it in a corner or leave it on the floor, it will become an obstacle instead of an asset. Plan your storage before it arrives. In a garage gym, organization is not optional. It is survival. If I had known all of this upfront, I still would have bought it. I just would have gone into it with clearer expectations. And when you are spending close to a thousand dollars on steel, clarity matters. I have since switched to the Rogue 9 Bar Holder and it’s been much better than keeping the Kabuki on the gun rack wall storage.
The Verdict: Is It Worth $891?
Let’s not pretend this is a small purchase. The base price hovers around $795. Add shipping. Add tax. You are staring at something that lands right around nine hundred dollars. That is premium money for a specialty bar. No mental gymnastics change that. So the real answer is not emotional. It depends on who you are as a lifter.
YES, if you're a 'Buy Once, Cry Once' lifter
You know exactly who you are. You would rather wait, save, and buy the right piece once than buy a cheaper version twice. You see your home gym as long term infrastructure, not a temporary setup. You are training for decades, not for summer. If that is you, then yes, this bar makes sense. It is versatile. It is comfortable. It is engineered to a level that feels excessive in the best possible way. It does not feel disposable. It feels permanent. I use it two to three times per week. Every week. Over the course of a year, that is well over a hundred sessions. Stretch that to five years and you are looking at five hundred plus uses. When you break the cost down that way, it becomes less of a splurge and more of an amortized investment in consistent training. Could I see this being handed down to my boys when they build their own garages someday? Absolutely. It feels like that kind of piece. Not trendy. Not flashy. Durable.
That is what you are paying for.
NO, if you're on a tight budget
Let’s be direct. You do not need this bar to get strong. A basic safety squat bar from Rogue or Titan in the three to four hundred dollar range will build serious legs and upper back strength. A straight barbell will still squat heavy weight. Strength is not locked behind a paywall. If nine hundred dollars is a significant percentage of your total gym budget, there are smarter priorities.
A quality power rack if you do not have one. (RM-6)
A full set of plates. (Echo Bumper Plates)
A solid barbell. (Rogue Ohio Bar Cerekote)
An adjustable bench. (Rogue Adjustable Bench 3.0)
Those are foundational tools. They move the needle more than any specialty bar. Build the base first. Get brutally strong with the basics. Add premium tools later when the budget allows.
MAYBE, if you're space-limited but not budget-limited
This is where the decision gets interesting. If you are building in a constrained space and you want versatility without hanging four different specialty bars on the wall, this becomes very compelling. One frame that can cover multiple squat patterns and hinge variations is a legitimate space saver. In a garage where every square foot matters, consolidation has value. You are not just buying variety. You are buying efficiency. You are reducing clutter. You are avoiding the slow creep of “just one more bar” until your wall looks like a steel museum.
So is it worth $891?
If you train consistently, value joint longevity, and believe in buying durable tools once instead of upgrading repeatedly, yes. If you are still building your foundation or stretching every dollar, no. And if you are tight on space but not tight on budget, it might be one of the smartest consolidation moves you can make. At the end of the day, this is not about hype. It is about alignment. The bar is excellent. The only question is whether it aligns with where you are in your training journey.
Final Thoughts: One Year Later
A year ago, I dropped nearly $900 on what felt like a gamble. I wanted to consolidate my specialty bars, save space, and see if the "Swiss Army knife of specialty bars" hype was real.
Here's what I know now:
A year ago, clicking “purchase” on a nearly nine hundred dollar specialty bar felt like a calculated risk. I was not chasing hype. I was trying to consolidate space, reduce clutter, and find out whether this so called Swiss Army knife of specialty bars actually delivered in the real world. Now I have the answer. The Rogue Kabuki Transformer Bar is legitimate. Not internet legitimate. Not influencer legitimate. Real world legitimate.
It is not flawless. The sleeves show wear the second you load plates. It is large and demands intentional storage. You are not going to rotate through all twenty four variations like you are unlocking achievements in a video game. You will settle into three or four settings that fit your body and your programming. And that is fine. Because what it does, it does exceptionally well.
It is built like it expects to outlast trends. The pad and handle design make heavy squatting sustainable instead of punishing. It has allowed me to train hard without paying the shoulder tax that used to show up six weeks into every low bar cycle. It adds variety without adding chaos. It makes lower body sessions something I look forward to instead of something I manage around joint irritation. That is the difference between a novelty bar and a system tool.
Would I buy it again?
Without hesitation.
Would I recommend it to everyone?
No. Not everyone needs a nine hundred dollar specialty bar. If your budget is tight or your foundation is not built yet, there are smarter priorities.
But if you want the best and you'll actually use it?
If you are serious about long term training, you value comfort and durability, and you will actually use the thing multiple times per week, this sits at the top of the food chain. The combination of versatility, comfort, and build quality is in its own tier. One year in, it is not a gamble anymore. It is part of the infrastructure.
Let's Talk
If you've got questions about programming, difficulty settings, specific positions, or whether this bar makes sense for your situation, drop a comment below or message me on Instagram (@ironandlimefitness) or Facebook. I reply to everyone because this stuff matters-your money, your training, your goals.
Support the Garage Grind:
This is a family-run operation. I do the videos, the editing, the writing, the filming, and obviously the training-all while balancing a full-time job and three kids who think "rest day" means "build a blanket fort in dad's gym."
If this review helped you make a decision or gave you information you couldn't find anywhere else, hitting Like and Subscribe is the best way to keep this thing going. No ads, no sponsors, no BS-just real reviews from a real gym.
Let's train hard and stay consistent.
Strength for Life. Fitness for All.
- Drew
Iron & Lime Fitness
P.S. - If you end up buying this bar and want to compare notes after a few months, hit me up. I'm always curious to hear how other lifters are programming with it and which positions they're finding most useful.
Overall Rating: ★★★★★ (5/5)
If you find it on sale for around $600, grab it. You won’t regret it.
And if you do, maybe use that extra hundred you saved to buy more plates, or, in my case, try to convince my wife that I need to upgrade to a Sorinex XL Power Rack!
Strength for Life. Fitness for All.
Shop the Bar:
Rogue Kabuki Transformer Bar
Shop Here
Watch the full video review on our YouTube channel
Rogue Kabuki Transformer Bar Review | 1 Year Long-Term Test | Is It Right For You? Let's Find Out!
More Articles here:
Rogue Manta Ray Adjustable Bench Review
Rogue FM-6 Twin Functional Trainer Review
American Barbell Dumbbell Set and Rack Review
“Best Budget Gear for Building a Garage Gym”
Bells of Steel Safety Straps Review: A Perfect Fit for the Rogue FM-6
Train hard. Live bold. Stay lime.